Painting exterior trim and windowsills is a great way to refresh your home's appearance. These areas are often overlooked but are crucial in protecting your home from the elements. A good paint job can make your house stand out while also adding a layer of protection against weather and wear. However, achieving a perfect finish requires more than just a brush and a can of paint.
Understanding the best practices for painting exterior trim and windowsills can save you time, money, and effort in the long run. By following a few essential guidelines, you can achieve a professional-looking result that not only enhances the beauty of your home but also provides lasting protection. Let's dive into these best practices to help you get started on your painting project.
Choosing the Right Paint and Tools
Selecting the right paint and tools is essential for a successful exterior trim and windowsill project. For exterior surfaces, it's best to use a high-quality, weather-resistant paint. Latex paint is a popular choice because it dries quickly and resists cracking and fading. It is also easier to clean up with soap and water. For areas exposed to extreme weather, consider using an oil-based paint as it provides a tougher, more durable finish.
When it comes to color, choose a shade that complements your home’s overall color scheme. Lighter colors tend to reflect heat and are less prone to fading. However, darker shades can offer a striking contrast. Make sure to select paint that is specifically designed for exterior use to ensure it withstands the elements.
List of Essential Tools:
- High-quality paintbrushes (angled sash brushes work well for trim)
- Rollers for larger, flat areas
- Painter’s tape for clean edges
- Drop cloths to protect the ground and nearby surfaces
- Sandpaper or a sanding block for surface preparation
- Primer to seal the wood and provide a smooth base for paint
Having the right tools not only makes the job easier but also improves the quality of your work. Investing in good brushes and rollers ensures a smoother application and better overall results.
Preparing the Surface for Painting
Proper preparation is the key to a durable and attractive finish. Start by cleaning the trim and windowsills thoroughly. Use a mild detergent mixed with water to remove dirt, grime, and any mildew. Rinse with clean water and let the surfaces dry completely. Cleaning removes any contaminants that can prevent the paint from adhering properly.
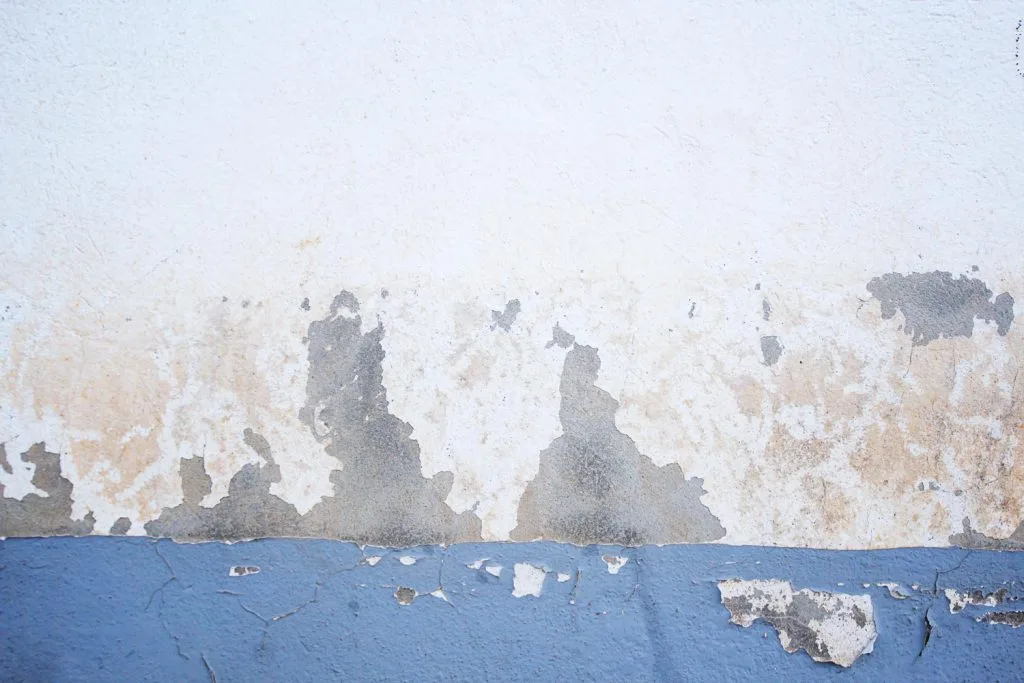
Next, inspect the wood for any signs of damage. Check for cracks, holes, or loose paint. Use a putty knife to scrape away any peeling paint and sand the surface until smooth. For larger gaps or cracks, fill them with a wood filler and allow it to dry before sanding. Sanding provides a smooth surface to which the primer and paint can adhere, ensuring a better finish.
Steps for Surface Preparation:
1. Clean surfaces with mild detergent and water.
2. Rinse and let dry completely.
3. Scrape away loose or peeling paint.
4. Sand the surfaces until smooth.
5. Fill cracks and holes with wood filler; let dry and sand again.
Priming the surface before painting is essential. A good primer seals the wood, hides imperfections, and provides a uniform surface for the paint. Choose a primer compatible with the type of paint you will be using. Apply the primer in thin, even coats and let it dry completely before moving on to painting.
Techniques for Perfect Paint Application
Applying paint to exterior trim and windowsills requires the right techniques to ensure a smooth, even finish. Start by using painter's tape to protect any areas you don't want to paint, such as glass panes or adjoining walls. This will give you clean, sharp lines.
Begin painting with an angled sash brush, which is perfect for trim. Dip the brush about a third of the way into the paint, then tap off the excess. Start with the edges and detailed areas, working your way down. Use long, even strokes to avoid brush marks. When painting flat surfaces, a small roller can speed up the job and ensure an even coat.
Steps for Perfect Paint Application:
1. Use painter's tape for clean edges.
2. Start with an angled sash brush for detailed areas.
3. Apply paint in long, even strokes.
4. Use a small roller for flat surfaces.
5. Apply multiple thin coats, allowing each to dry.
Make sure to apply multiple thin coats rather than a single thick one. Thin coats dry faster and provide better adhesion, reducing the chances of drips and uneven coverage. Let each coat dry completely before applying the next one.
Post-Painting Care and Maintenance
Once the paint has dried, it's important to follow a few steps to ensure your hard work lasts. First, remove the painter's tape carefully to avoid peeling any fresh paint. Pull the tape back on itself slowly for the best results.
Regular maintenance will help keep your trim and windowsills looking great. Inspect the painted areas periodically for any signs of damage, such as chips or cracks. Address these issues promptly by touching up the paint to prevent further damage.
Maintenance Checklist:
- Remove painter's tape carefully after drying.
- Inspect painted areas regularly for damage.
- Touch up any chips or cracks promptly.
- Clean surfaces with a mild detergent to remove dirt and grime.
- Reapply a fresh coat of paint as needed to maintain protection.
Cleaning is another important aspect of maintenance. Use a mild detergent mixed with water to clean the surfaces, removing dirt and grime that can wear down the paint over time. Avoid using harsh chemicals or abrasive cleaners that can damage the paint.
Conclusion
Taking the time to follow best practices for painting exterior trim and windowsills can make a significant difference in the appearance and longevity of your home's exterior. By choosing the right paint and tools, preparing the surfaces properly, applying paint with the correct techniques, and maintaining the finished job, you ensure that your efforts will last for years.
Properly painted trim and windowsills not only add to your home's curb appeal but also provide important protection against the elements. Investing in quality materials and taking the right steps can save you time and money in the long run.
For expert assistance and durable results, consider reaching out to Kane Painting. Our experienced team can help you achieve a flawless finish for your home's exterior. Contact us today to get started on your next exterior painting project.